This post is about to explain how to provision a Windows 11 virtual machine using Terraform
1. Introduction
This is intended for those, who would like to provision a Windows 11 Virtual Machine using Terraform.
2. Prerequisites
3. The Terraform Configuration
The Terraform configuration is defined in three files:
- main.tf - containing the resource blocks for the virtual machine, virtual network, the subnet, …
- providers.tf - containing the terraform (including the backend definition for the storage of the Terraform state file), and provider block
- variables.tf - containing variables for the main.tf file
main.tf
resource "azurerm_resource_group" "rg" {
  name     = "iac-azure-terraform"
  location = "westeurope"
}

resource "azurerm_availability_set" "myavailabilityset" {
  name                = "example-aset"
  location            = azurerm_resource_group.rg.location
  resource_group_name = azurerm_resource_group.rg.name
}

resource "azurerm_virtual_network" "vnet" {
  name                = "vNet"
  address_space       = ["10.0.0.0/16"]
  location            = azurerm_resource_group.rg.location
  resource_group_name = azurerm_resource_group.rg.name
}

resource "azurerm_subnet" "subnet" {
  name                 = "internal"
  resource_group_name  = azurerm_resource_group.rg.name
  virtual_network_name = azurerm_virtual_network.vnet.name
  address_prefixes     = ["10.0.2.0/24"]
}

resource "azurerm_public_ip" "my-public-ip" {
  name                = "my-public-ip"
  resource_group_name = azurerm_resource_group.rg.name
  location            = azurerm_resource_group.rg.location
  allocation_method   = "Dynamic"

  tags = {
    environment = "Testing"
  }
}

resource "azurerm_network_interface" "mynetworkinterface" {
  name                = "my-network-interface"
  location            = azurerm_resource_group.rg.location
  resource_group_name = azurerm_resource_group.rg.name

  ip_configuration {
    name                          = "internal"
    subnet_id                     = azurerm_subnet.subnet.id
    private_ip_address_allocation = "Dynamic"

    public_ip_address_id = azurerm_public_ip.my-public-ip.id
  }
}

# Windows 11 Virtual Machine
resource "azurerm_windows_virtual_machine" "myvirtualmachine" {
  name                = "windows11-21h2"
  resource_group_name = azurerm_resource_group.rg.name
  location            = azurerm_resource_group.rg.location
  size                = var.my_virtual_machine_size
  admin_username      = "adminuser"
  admin_password      = var.my_virtual_machine_password
  availability_set_id = azurerm_availability_set.myavailabilityset.id
  network_interface_ids = [
    azurerm_network_interface.mynetworkinterface.id,
  ]

  os_disk {
    caching              = "ReadWrite"
    storage_account_type = "Standard_LRS"
  }

  source_image_reference {
    publisher = "MicrosoftWindowsDesktop"
    offer     = "windows-11"
    sku       = "win11-21h2-avd"
    version   = "latest"
  }
}

# Security Group - allowing RDP Connection
resource "azurerm_network_security_group" "sg-rdp-connection" {
  name                = "allowrdpconnection"
  location            = azurerm_resource_group.rg.location
  resource_group_name = azurerm_resource_group.rg.name

  security_rule {
    name                       = "rdpport"
    priority                   = 100
    direction                  = "Inbound"
    access                     = "Allow"
    protocol                   = "Tcp"
    source_port_range          = "*"
    destination_port_range     = "3389"
    source_address_prefix      = "*"
    destination_address_prefix = "*"
  }

  tags = {
    environment = "Testing"
  }
}

# Associate security group with network interface
resource "azurerm_network_interface_security_group_association" "example" {
  network_interface_id      = azurerm_network_interface.mynetworkinterface.id
  network_security_group_id = azurerm_network_security_group.sg-rdp-connection.id
}
providers.tf
terraform {
  required_providers {
    azurerm = {
      source  = "hashicorp/azurerm"
      version = "~> 2.65"
    }

    random = {
      source  = "hashicorp/random"
      version = "3.1.0"
    }
  }

  # Delete the backend block if you want to store the state locally
  backend "azurerm" {
    resource_group_name  = "devopsexperiences-storage"
    storage_account_name = "alien39"
    container_name       = "terraformstate"
    key                  = "terraform.tfstate"
  }

  required_version = ">= 0.14.9"
}

provider "azurerm" {
  features {}
}
variables.tf
variable "my_virtual_machine_password" {
  default     = "P@$$w0rd1234!"
  description = "Password of the Virtual Machine"
}

variable "my_virtual_machine_size" {
  default     = "Standard_D2_v4"
  description = "Size of the Virtual Machine"
}
4. Preparing the environment
4.1 Login to your Azure Subscription with Azure CLI
First, login to your Azure subscription by opening e.g.: a PowerShell prompt or opening a Terminal in Visual Studio Code and run:
az login
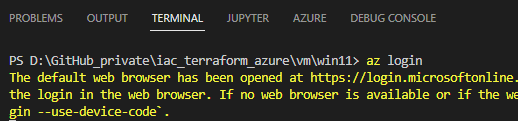
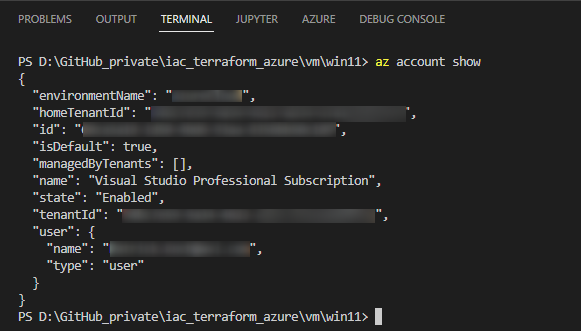
A browser session will be opened, enter the credentials for your account. Ensure, that the desired subscription is properly set by applying:
az account show
In the output, you should see your subscription of choice. In my case, I’m using my Visual Studio subscription:
4.2 Cloning the repository
Clone this repository by running the following git command:
git clone https://github.com/patkoch/iac_terraform_azure.git
After cloning it, switch to the directory “iac_terraform_azure/vm/win11”
4.3 Adapting the Backend - storing the Terraform state file in Azure ot locally
This configuration stores the Terraform state file in Azure - defined in the file “providers.tf” - by the following block:
  backend "azurerm" {
    resource_group_name  = "devopsexperiences-storage"
    storage_account_name = "alien39"
    container_name       = "terraformstate"
    key                  = "terraform.tfstate"
  }
This refers to a Storage Account (named “alien39”), including a Container that finally contains the Terraform state file.

This means, that the Storage Account is mandatory for this configuration.
So, there are two options:
- Create a Storage Account with a name of your choice (don’t forget to update the block in “providers.tf”), including a container as storage for the Terraform state file
- Delete the block, shown in the snippet above, in that case, the Terraform state file won’t get stored in Azure, but locally.
4.4 Finding a proper SKU for the virtual machine
Find a SKU, which fits to your desired region. The SKU is defined in following block:
source_image_reference {
    publisher = "MicrosoftWindowsDesktop"
    offer     = "windows-11"
    sku       = "win11-21h2-avd"
    version   = "latest"
  }
I’ve created a dedicated post about finding a suitable Windows 11 virtual machine SKU, using the Azure CLI, for that, please check:
5. Provision, and remove the virtual machine with Terraform
Conduct the initialization with the following command:
terraform init
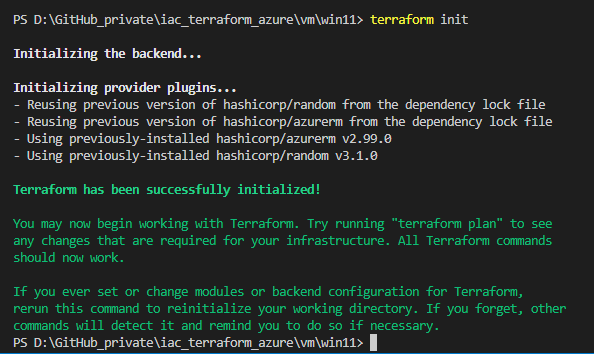
This will establish a connection to the backend.
After that, run:
terraform validate
This validates the configuration file. The desired output can be seen in the picture above.
Make sure your Terraform configuration files are in the desired format, by using:
terraform fmt
This takes care, that your files are formatted correctly. It will e.g. correct the shifting of your resource blocks. If for example an adaption was made, then the command returns the name of the file, which was affected.
E.g.:

Create a Terraform plan by running:
terraform plan -out tfplan
This creates the file “tfplan”. If the resources are getting created for the very first time, then the final command for starting the provisioning would be:
terraform apply tfplan
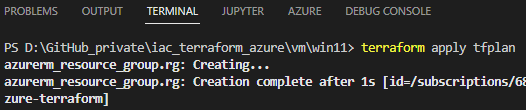
This provisions a Windows 11 virtual machine in your Azure subscription by adding 9 resources:

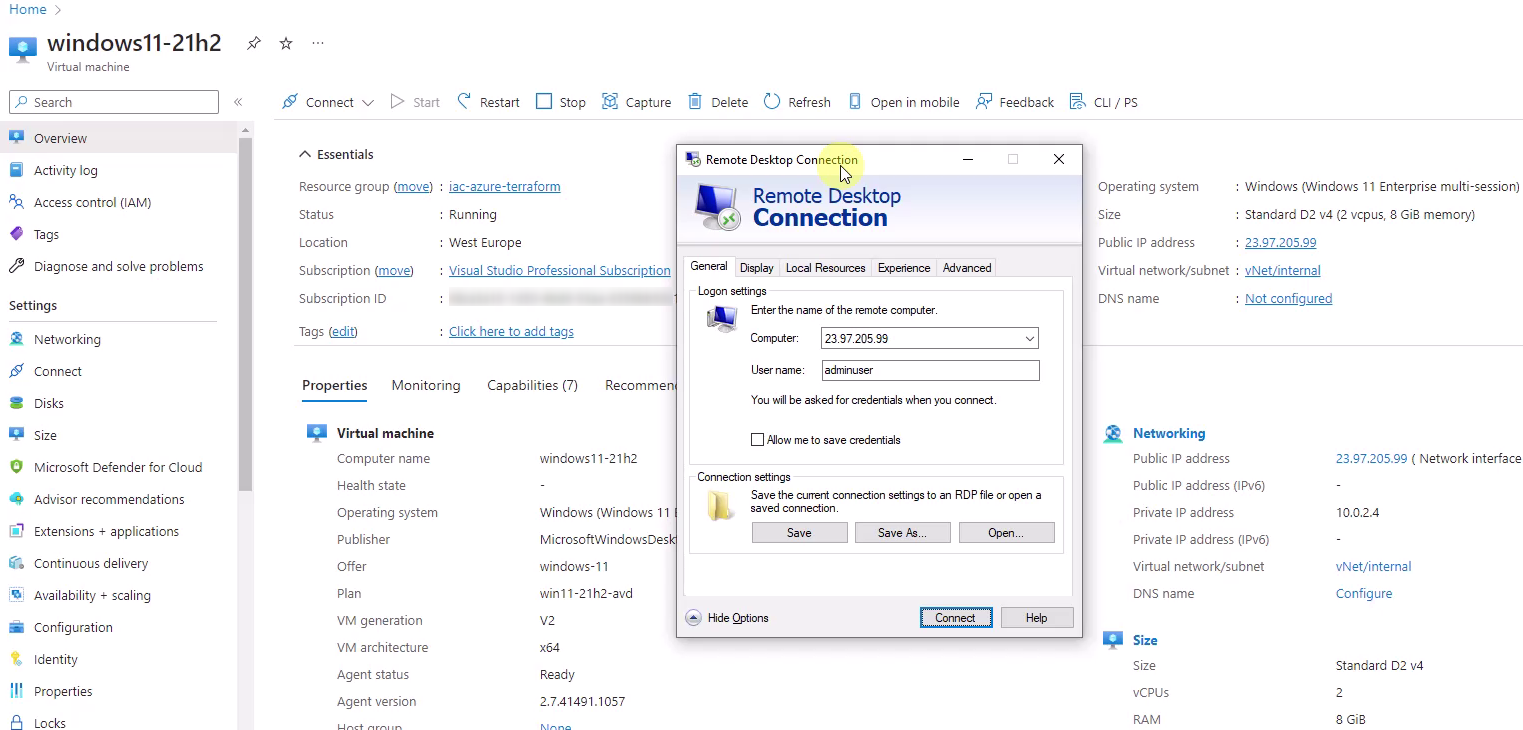
Finally, the virtual machine is ready to use and it is capable to be accessed with a remote desktop connection:
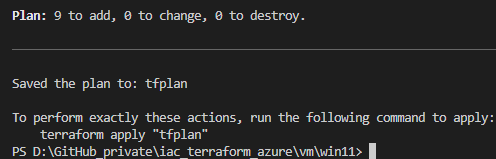
Note: Assume, the resources are already created and you would run the following command a second time:
terraform plan -out tfplan
In that case you would get notified, that there are no changes, as seen in the picture below:

If you want to get rid of the virtual machine, including the additional resources like the public ip address, or the resource group, then use following command to remove them:
terraform destroy

Confirm it, by typing “yes”, to remove all created resources:
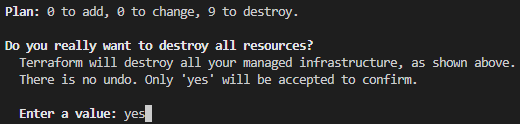
Finally after a while, all provisioned resources, are now destroyed.
References
HashiCorp: Tutorials - Get Started - Azure
learn.microsoft.com - Azure Command-Line Interface (CLI) documentation
HashiCorp - Terraform - Windows Virtual Machine